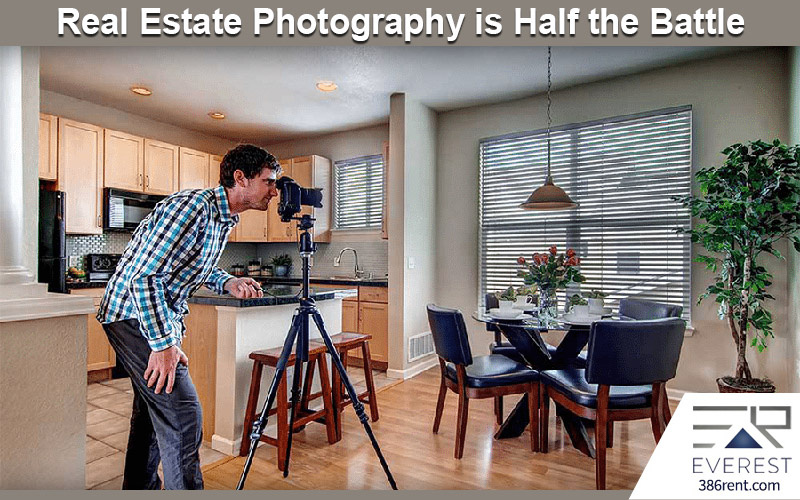
The one thing that can make your property listing perfect and popular is your property pictures. Your first impression is created through your pictures, and that impression is made stringer through your description. The attraction of your listing that lures in the tenants is your pictures more than anything else. Real estate photography is one of the many beneficial areas that most property managers, as well as landlords, ignore or take lightly.
Ask any professional photographer and get an unbiased opinion, each and every one will claim that these pictures can make or break your listing. Your awesome description means nothing if there are no good pictures to reflect your words and claims. High quality and detailed pictures are a sure way of increasing clicks on your listing and landing the perfect tenant.
Here are the pro tips and practices that you need to ace at real estate photography.
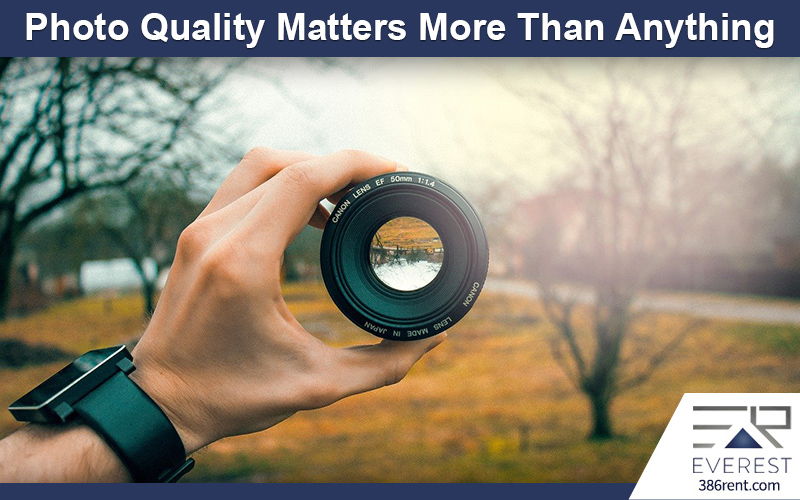
Photo Quality Matters More Than Anything:
It’s a known fact that pictures speak a thousand words and 90% of the time people scan photos first and description later. They only go for descriptions when they like the pictures, and this is a fact that no one can deny. Apart from that, people also connect to pictures of the house they are checking out or want to rent. Renting in the long term means that you will regard this listing as your home, and you need to connect to the pictures to send the application in. In all of these cases, it’s highly important that you add high-quality pictures to your listing. Real estate is a competitive market, and you don’t want to lag just because of a few bad pictures.
So, let’s get down to the tips that can help you take better pictures and ace your property listing.
The Photography Equipment:
What do you need to get the perfect pictures? The answer is pretty basic; you will need the following to get high-quality shots every time:
- Camera
- Lens
- Tripod
- Flash
- When it comes to cameras, you are in luck because real estate photography doesn’t need a special or an expensive camera. A basic camera will do just fine. Concentrate on excellent ISO performance, and you will be all set to take brilliant real estate photos. ISO performance matters the most when you are shooting at night, to show how your property lights up with all the beautiful landscape lighting.
- The second equipment is the lens of the camera. A wide-angle lens is what you need to make even the small room look bigger and spacious. A wide-angle camera is perfect for showing the true potential of your place.
- As far as most landlords are concerned, the camera and lens are all you need to get the perfect pictures. However, to most professionals, a tripod is extremely important if you are looking to capture high-quality and perfect pictures of your property. Tripods are necessary for crisp, clear and illuminated pictures even when the light is low, especially if it’s a night shoot. Stability of camera guarantees clear and crisp images.
- The last thing you need to worry about is the flash, because there are two kinds of people flash. When it comes to flash, there are two camps: One who is in favor of using flash and one who thinks that flash isn’t necessary. However, if you like to use flash, then make sure that you have a stand that works independently. An off-camera flash with wireless triggers works like a charm every time you want to click high-quality pictures for your property listing.
How To Get The Best Photos?
Well, once you have all your equipment in line, your next task is to know what to capture and how to capture. You need to think from the perspective of your tenants and capture all they need to know when they open your listing. Here’s a detailed guide that will help you get those perfect shots to increase the potential of your property listing.
The Living area or the Lounge:
The area where the family sits or chills in front of the TV is the most engaging area of any house. This is where you entertain guest and spend most of your day, so it needs to be open and spacious. Try covering all corners of the living area to show how big and open it is, take wide-angle shots so that it looks spacious. Add cozy touches, like candles and pillows so that the potential customers connect with it easily.
Bedroom:
Even if you have a smaller bedroom, your photography can make it look impressive. Make the room seem as bright as you can and add personal touches to make it look comfortable and serene. If you have a window, try and capture the view from it to make it look more stunning.
Kitchen and Bathrooms:
The two most practical areas of any house are the bathroom and the kitchen, so make sure you have ample pictures of both. Remove all clutter from the counters, hide all the cleaning equipment and make sure both the areas clutter-free before taking photographs.
The Exterior of The House:
The most crucial feature of any house is the exterior. This is the part that attracts the tenants the most. So, choose a time that has ample natural light but avoid harsh glare as well. The best time to catch the perfect shot is either sunrise or sunset.
Here’s a quick guide on camera settings to get the best real estate shots:
- Adjust your shutter speed between 1/60 and ½ a second for best shots without losing any natural light.
- Keep your aperture between F8 and F11, that’s what most professional who is good with real estate photography do and suggest.
- Keep your ISO as low as possible so that your pictures come crisp and clean without any blur or grain. Keep is under 400, and try all different angles to get the one best shot.
Bottom Line:
Practice the above-mentions tips and tricks, and you will soon find the perfect technique to capture the best shots. You can also ethically retouch your pictures to make them more appealing.
If you’d like to talk more about property management, or you need help with Everest Property Management, please contact us at Everest Realty.

 As a top producing Realtor and Property Manager; Terry specializes in sales, extensive construction homes, rentals, REO’s, short sales, and all aspects of Real Estate. After graduating the University of Michigan with a master in MBA, Terry continued his endeavor and now has over 15+ years of experience in the Real Estate world. If there is anything that has to do with Real Estate and sales, you can always be sure of Terry to provide important, specialized knowledge.